
A Stunning White Bathroom Remodel
This Post May Contain Affiliate Links. Please Read Our Disclosure Policy.
I get to share our stunning white bathroom remodel with you today! When we purchased our home, the master bath was one of the rooms that I knew needed to be updated at some point. It was functional so it was one of the last rooms we tackled. The space was dark and outdated, and it is now a gorgeous white luxurious bathroom. I learned so much throughout this remodel and have so much information to share, I’ll be breaking this into two posts. One post all about the remodel process, and one post with all the finished details, sources and photos.
The original bathroom had dark gray tile throughout, an outdated drop-in tub, and black granite countertops. (eew) A ceiling fan hung in the center of the room along with “interesting” cabinet pulls and an outdated sconce. The wall paint color was a darker teal blue. The cabinets, doors and trim had been painted a cream color that had yellowed over time. It was a dark space that was begging for some light and beauty! Check out these before and after photos:
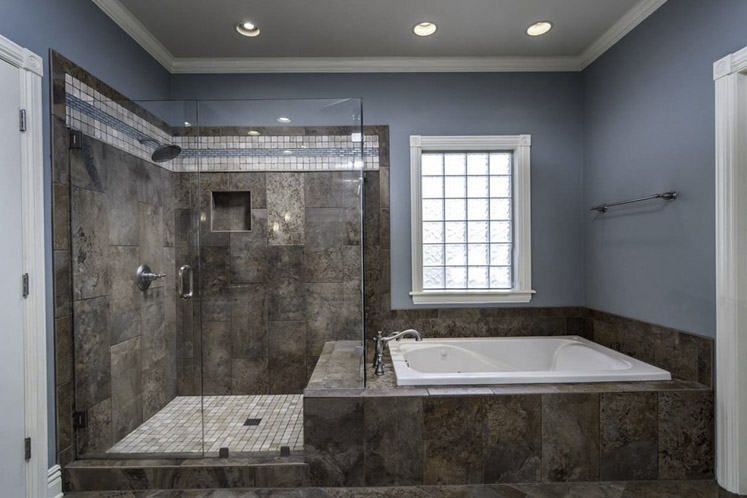
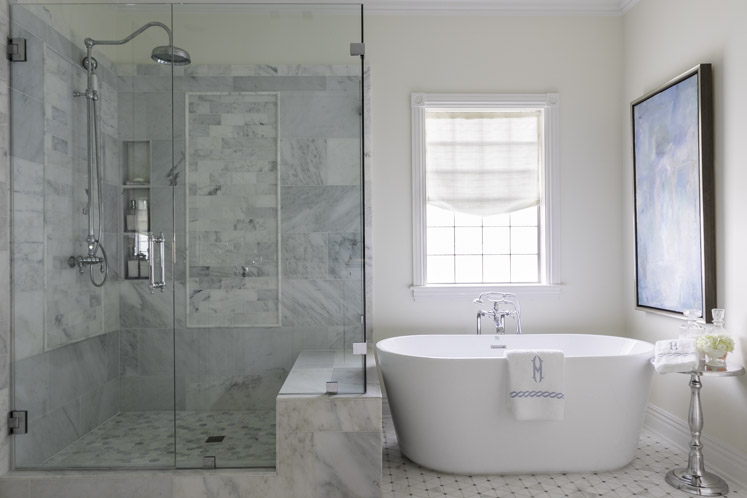

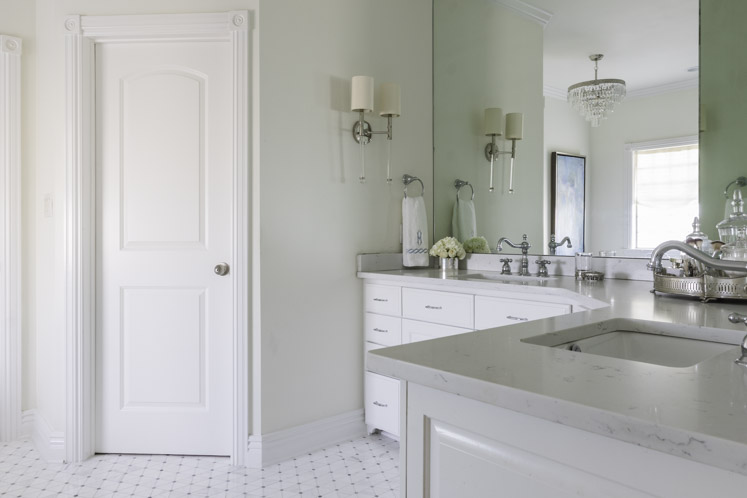
A special thank you to the partners who helped me pull off this white bathroom remodel: Triton Stone, Kingston Brass, Elrod Glass, Brothers Granite and Quartz, Sherwin-Williams, J. Cole Construction, and Ladd Wood Works. As always, all opinions are my own.
Table of Contents
Design Elements
When thinking through the design, I knew I wanted to mirror the style and neutral elements used throughout our home. See our style in these other spaces: kitchen, living room, master bedroom, pantry, playroom, boys bedroom, toddler bedroom). We decided to use the existing cabinets and large mirrors in the new space but everything else was removed.

Choosing Tile & Stone
I turned to my friends at Triton Stone to help me start the overall design process. They helped me with my kitchen and fireplace design. If you’ve been a reader for a while you know how great our experience was working with them. Not only do they have the best customer service, their staff is trained to help with the various design elements as well. I utilize their Little Rock location, but Triton Stone is the largest importer of natural stone in the Southeast and has 22 locations all over the United States!
I shared my overall vision and inspiration photos with Jana McAllister and she pulled together the tile options for the shower walls, shower floor, and the bathroom floor tile. We had so much fun reviewing various combinations from the Crescent Collection and putting the design together. I toured the stones available in their showroom and we chose a gorgeous white quartz for the bathroom countertops and 18″ rectangular sinks. See all the final selections here!
Faucets & Fixtures
Once I had a plan for all the tile, I perused the Kingston Brass website. You might remember that my kitchen has a gorgeous faucet and sink from Kingston Brass. I am happy to report, it is still the best quality and beautiful after a year of use! Since I wanted everything in this bathroom to sparkle, I was looking for a polished chrome finish. I was able to source my sink faucets, tub filler, shower faucet, and my accessories like the toilet paper holder, towel ring and towel bar directly from them! Be sure to check out all my fixture choices here.
A New Bathtub
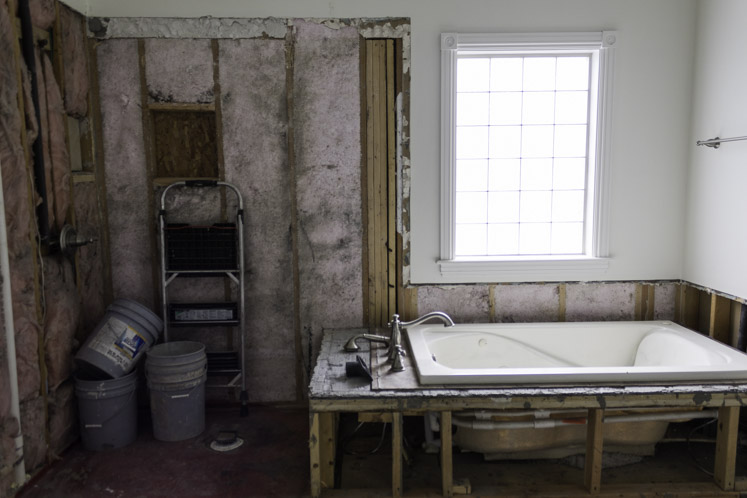
One of the larger focuses of this white bathroom remodel was removing the previous bulky and outdated drop in tub and replacing with a sleek, freestanding acrylic tub. We found the perfect sized tub on the Kingston Brass website. I was initially nervous about this decision because of the need for moving the plumbing and matching sheet rock, but once the tub was removed, we worked closely with the plumber on the measurements of the drain and location of the new tub faucet and it all went so smoothly!

Shower & Tub… Demo & Installation
Our fabricator Brothers Granite and Quartz handled both the tile and tub removal. It was loud, but they had a team of people working on it so the process went quickly. Once the debris was cleared, they began the process of prepping the shower walls and the floor for the new tile. We had some weakened boards in the shower, so they replaced them and built a new bench as well. The new recessed shower shelf was designed with three compartments. We use several different products between family members so I love having more storage space.
Watching the tile installation process was probably my favorite part of construction. It was so fun to see the puzzle come together to reveal the gorgeous design we worked so hard to create. I was very impressed with how good their team was with my kids during the construction. As they started the project, they put down paper over our hardwood floors to protect the walkway they would be using during the remodel and they cleaned up daily before they left.
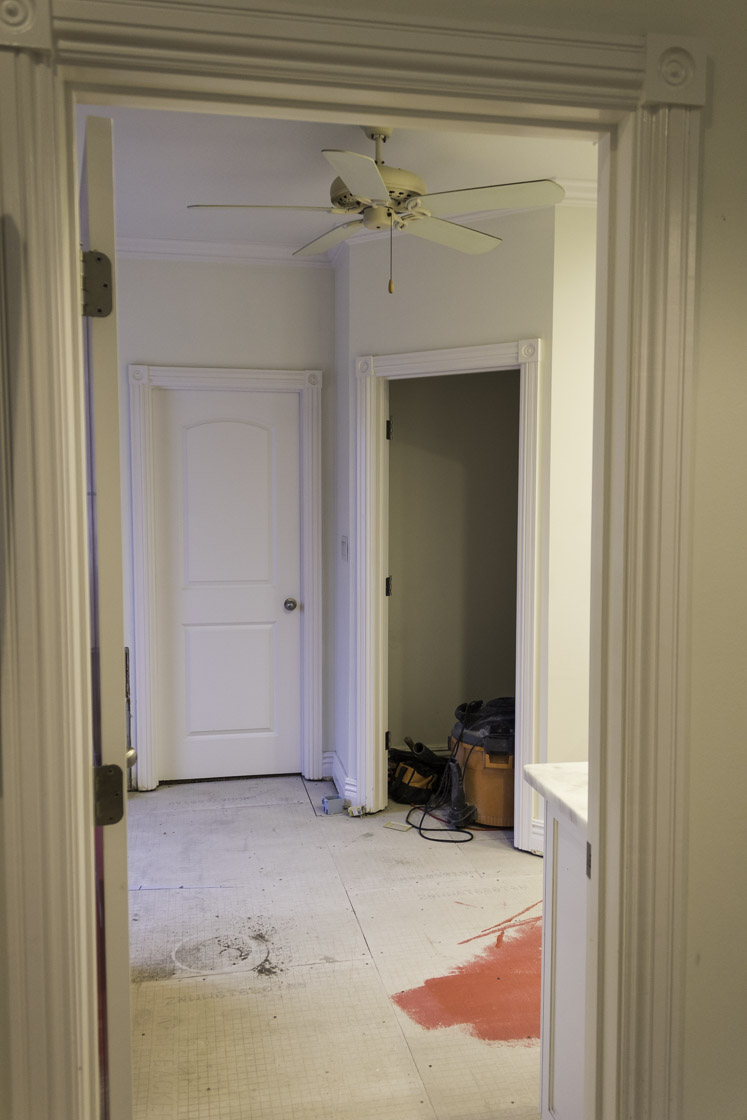


With the original tub removed, it was time to patch the sheet rock. I was skeptical that the large open holes could be effectively patched, but J. Cole Construction did a flawless job with both the patch and with painting as well. Now that the space is finished, it’s hard to imagine it the way it was before. You’d never know there was such a big change!
Shower Details
We learned the hard way that the glass frameless panels cannot typically be reused for the same space. The original shower had beautiful glass so we were hopeful we could save that part of the budget and reuse them. But the measurements of the new shower have to be the exact same in order for the glass to be reused. Since they had to replace the shower sub-floor and bench, the measurements ended up being different.
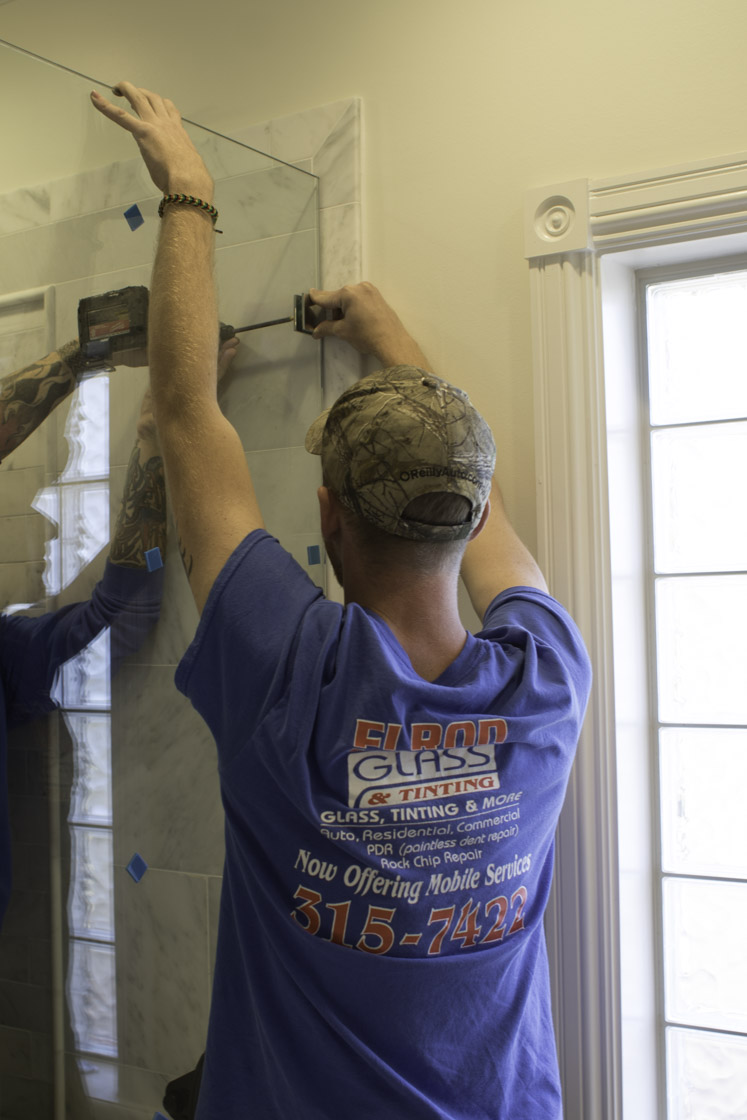
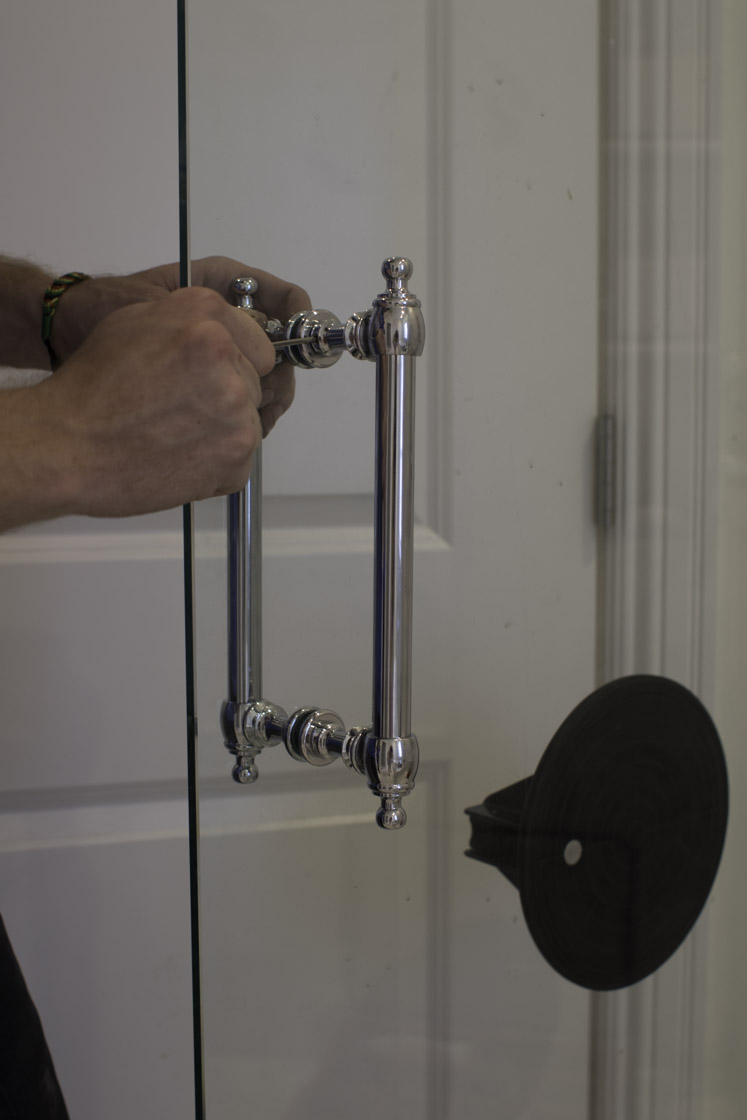
I relied on Cole Elrod with Elrod Auto Glass to help me with the shower glass. Elrod Auto Glass is a family owned and operated company from the Benton area but they service all over Arkansas. They handle everything from shower glass to auto glass to wallpaper install. They do it all! Their friendly team came and took exact measurements of the space and recommended the hardware and they were able to find the exact door handle I wanted! On install day, they brought in the three panels and tools, and within a few hours we had a gorgeous glass shower.

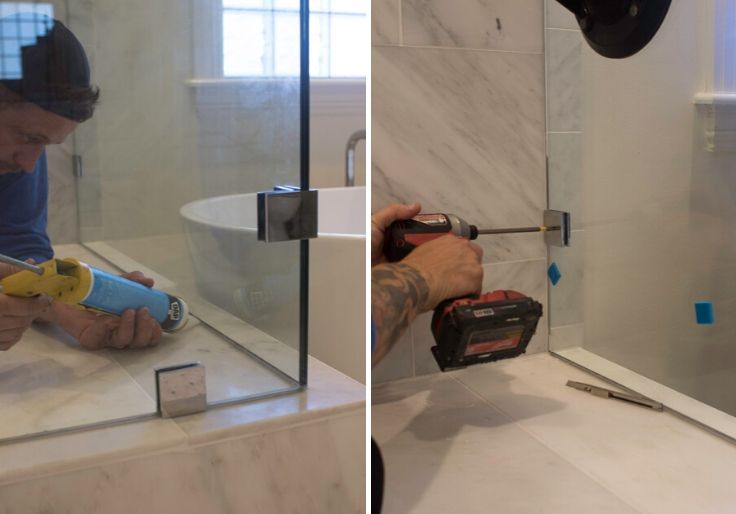
The shower glass really made the room come together and the shower is now a showstopper. I love walking in and seeing that beautiful glass. When working with companies like this in our home, it’s very important that they are trustworthy, friendly, and respect our kids and our home. Elrod Auto Glass was just that and I really appreciate their level of customer service.
Installing Bathroom Lighting
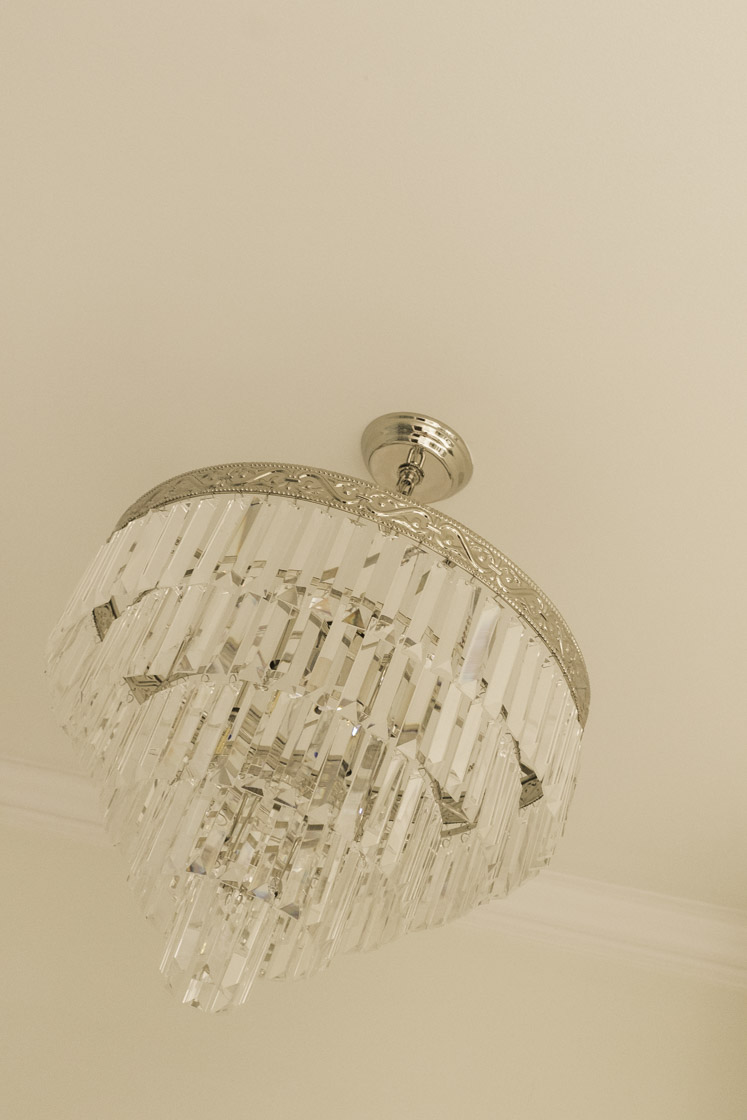
After the glass install, we turned to the lighting. The original bathroom had a ceiling fan. While I’m sure it served its purpose over time, we do not have a need for a ceiling fan in the bathroom. I wanted a gorgeous chandelier that would bring a little glam to the space. We moved the chandelier over a few feet so it would line up with the closet door and be symmetrical to the new freestanding tub.
I initially wanted to add a sconce on each side of the sink on top of the mirrors but learned that the glass holes couldn’t be cut with the existing mirrors in place. Instead, I replaced an outdated sconce with a lovely shaded two-light sconce. I’m very pleased with the overall look. See my lighting sources in the bathroom ideas post here!
Cabinetry Details
One last detail that that helped give the overall space a more custom look, was such an easy cosmetic addition! We had custom feet made by Ladd Wood Works and added them to the bottom of the bathroom cabinets. I love that the feet turned a builder-grade existing cabinet into a fresh new custom piece. After install, we painted and caulked them and it was an instant upgrade to the space! I now plan to add custom feet to our two upstairs bathrooms as well.

Paint Colors
For the paint in our bathroom, we used the same colors that are throughout the rest of our home. We returned to Sherwin-Williams Dover White for the walls and Pure White for the cabinets, trim and doors. I’m a big fan of Sherwin-Williams, and I love how the quality has stood the test of time. I love the Dover White because it’s a perfect creamy neutral white that isn’t too blue, yellow, or pink, and the pure white on the trim provides a crisp white look. The bathroom ceiling is painted in 50% Dover White.
Thankfully my husband Brian was able to reuse and install some trim we’ve removed from other parts of our remodel. A remodel is a tough process, whether you are living in the home or not. The part that I really enjoy is the design work, and the styling once a remodel is finished. I had so much fun styling this bathroom and you can find all the details including the art work, towels, and other accessories by visiting the master bathroom ideas post.
I hope it was helpful to learn the details of our white bathroom remodel and the progression over time. We are so pleased with how well this came together.
If you haven’t yet, take a look at the other rooms in our home that we’ve finished: kitchen, living room, master bedroom, pantry, playroom, boys bedroom, and a toddler bedroom. Thanks so much for stopping by today! For more inspiration, follow me on Instagram, Pinterest, LIKEtoKNOW.it, Facebook, and Twitter.
Be sure to save this pin to your Home Design Board



Wow, it looks absolutely amazing! I love the tub you chose! What a light & airy space, I’d never want to leave haha!
-Madi xo
This is gorgeous! I am swooning over that big bath tub!
Wow, what a difference! This looks incredible. I love all of the marble!
I love the before and after pictures. We are doing our kitchen now and i could not be more excited. thanks for sharing.
What a beautiful transformation! I would love to do a bathroom remodel in my house!
Wow! It looks amazing! I love the new tile and the tub especially! Remodeling is a lot of work, but the finished product is so worth it!
I love it! Light, airy and calm. Everything you want in a bathroom. A proper relaxing haven. Well done
Oh wow, this looks stunning! I love the overall design of it! It looks like a good use of all the space in the room!
WOW! Incredible transformation. I saw the first picture and thought how beautiful it was.
But then the transformation! Incredible. I love the tile you chose, I love the tub, I love the colors. It’s so so so perfect. I always imagine how lovely it would be to redo our bathroom, but I don’t think I could do something like this as well as you did. Fantastic!
This is an amazing transformation! Great bathroom inspiration!
Oh wow that bathroom looks amazing!!
Omg! It’s gorgeous. It’s amazing how those spaces were transformed.
What a beautiful transformation! I am literally obsessed with this new look!!
Kileen
cute & little
What a gorgeous bathroom. I love how bright it is vs. the before.
Renovating a bathroom can be a such a huge task but the reward is definitely worth it. This bathroom looks absolutely stunning!
It’s a gorgeous remodel. I love a white bathroom!
Its a beautiful bathroom remodel. Totally loved it
What an amazing transformation! Did you change the mirrors? Just couldn’t get a good look. Is it the big. single wall to wall mirror?
No, we did not change the mirrors, and yes they are single wall to wall mirrors. Thank you so much!
These are absolutely beautiful! I was wondering about the color or make of the tile you used in the blue brown grey tile.
Crys
Hi! The blue brown grey tile was the existing tile when we purchased the home so I’m afraid I don’t know. But it was lovely!